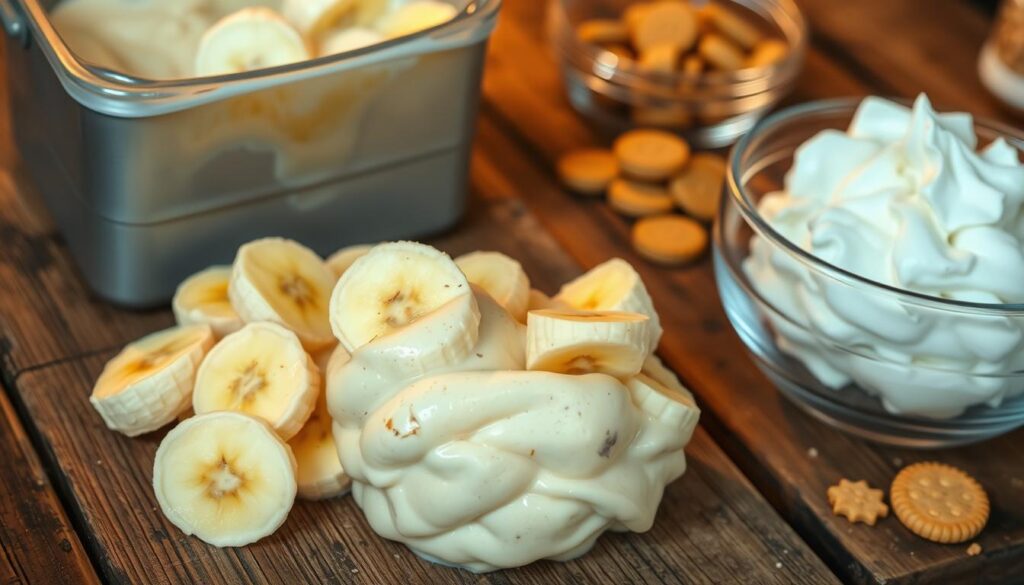
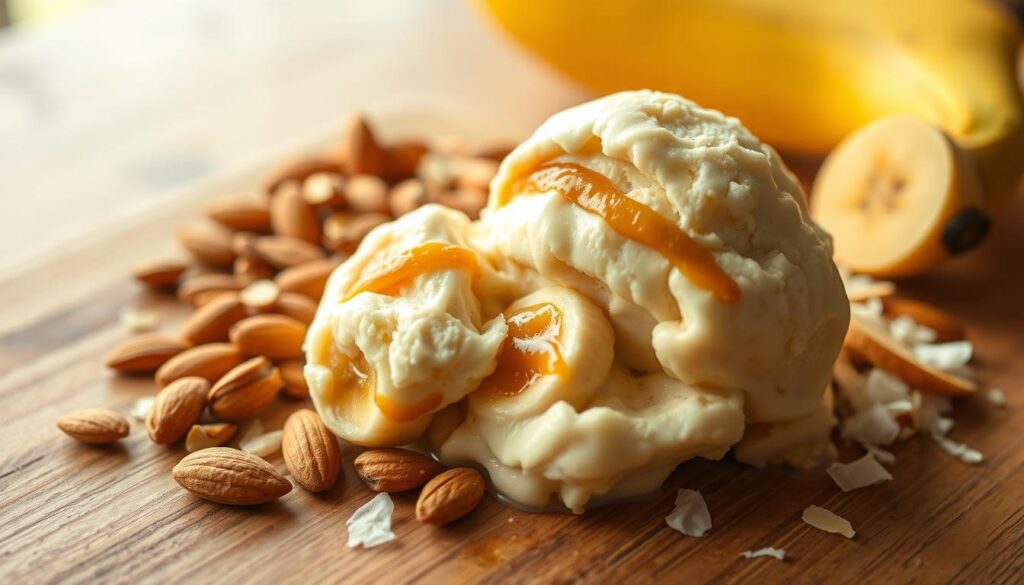
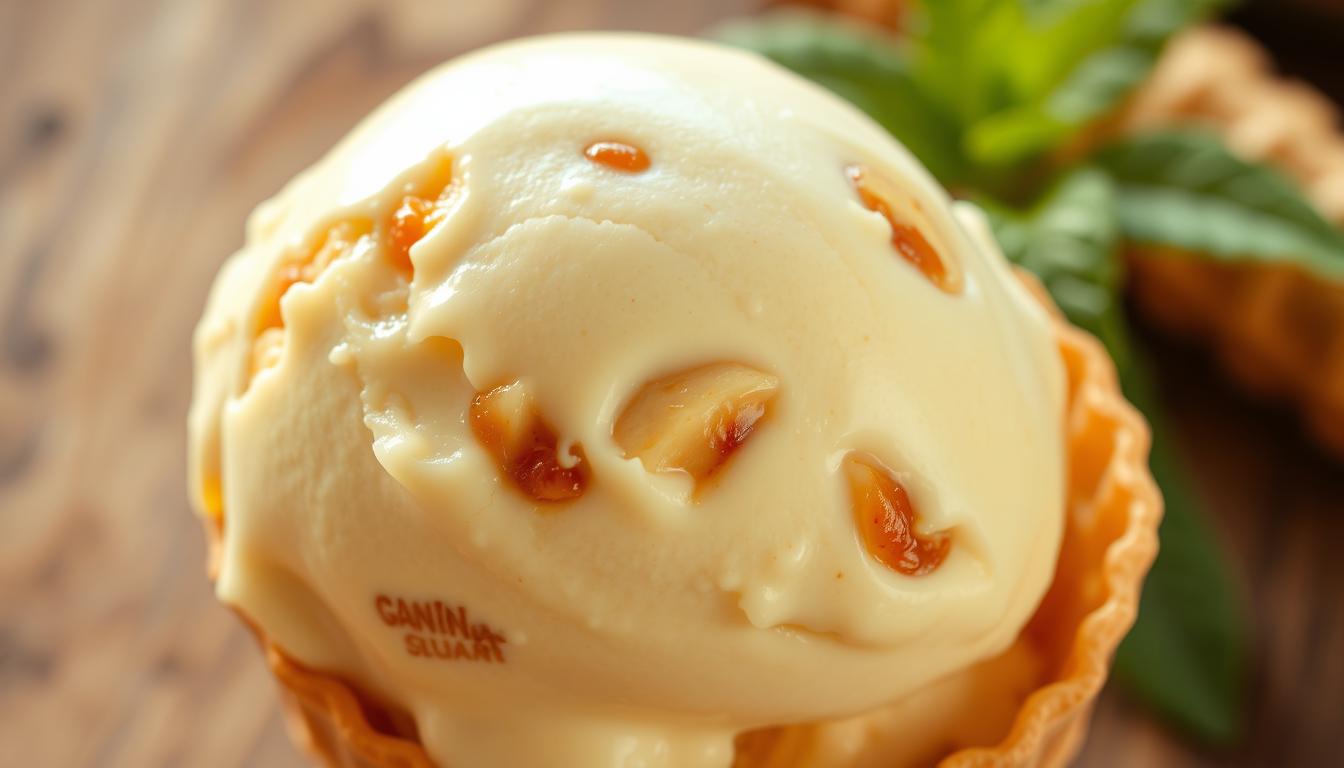
Summer memories come alive with every spoonful of banana pudding ice cream. It’s like turning the classic Southern dessert into a creamy treat. This no-churn banana pudding ice cream combines the best of two desserts in one.
This banana pudding ice cream is easy to make. You don’t need fancy tools or skills to make it look and taste like a gourmet dessert. With a few ingredients and some quick prep, you can make a creamy treat that everyone will love.
Trader Joe’s banana pudding ice cream was so popular, it sold out fast. Now, you can make this tasty dessert in your own kitchen.
Key Takeaways
- No ice cream machine required for this delicious dessert
- Uses fresh yellow bananas for authentic flavor
- Preparation takes just 20 minutes
- Yields approximately 3 quarts of ice cream
- Versatile serving options: bowl, cone, or pie topping
Understanding the Southern Classic: A Perfect Summer Treat
Banana pudding ice cream is a beloved southern classic. It has delighted many for generations. It’s more than a sweet treat; it’s a journey through Southern food traditions.
The roots of this dessert go deep in Southern culinary history. Banana pudding has been a favorite at family gatherings and summer celebrations in the southeast.
Origins of Banana Pudding Ice Cream
Southern cooks have been making desserts into new treats for years. Banana pudding, with its creamy texture and nostalgic flavor, became a frozen delight. It perfectly captures the spirit of summer.
- Originated from classic Southern banana pudding recipes
- Combines traditional layered dessert with cool, refreshing ice cream
- Developed as a creative way to beat summer heat
Why This Dessert Became a Summer Favorite
The appeal of banana pudding ice cream is in its simplicity and comfort. With 5 to 6 ripe bananas and classic ingredients, it offers a cool escape from hot summers.
Traditional vs Modern Interpretations
Traditional banana pudding is still loved, but modern versions are innovative. Today’s recipes include:
| Traditional Method | Modern Twist |
|---|---|
| Layered pudding with wafers | No-churn ice cream style |
| Meringue topping | Whipped cream garnish |
| Served warm | Frozen and chilled |
Whether you like the classic or a modern twist, banana pudding ice cream is a quintessential southern classic. It brings joy and sweetness to summer gatherings.
Essential Ingredients for Perfect Banana Pudding Ice Cream
To make the best banana pudding ice cream, you need the right ingredients. These ingredients should make your ice cream rich and creamy. Choosing the best parts will make your treat unforgettable.
The base of your banana custard is three main ingredients:
- Ripe bananas (3 medium-sized)
- Heavy whipping cream (2 cups, 38% fat content)
- Sweetened condensed milk (14 oz can)
For the crunch, pick top-notch vanilla wafers. Nilla Wafers are perfect. They add a crumbly texture and real flavor, just like banana pudding.
| Ingredient | Quantity | Purpose |
|---|---|---|
| Ripe Bananas | 3 medium | Provides natural sweetness and banana flavor |
| Heavy Cream | 2 cups | Creates creamy base |
| Sweetened Condensed Milk | 14 oz | Adds richness and sweetness |
| Vanilla Wafers | 1 cup crushed | Adds signature crunch |
For bananas, pick ones that are a bit overripe. These bananas will give your custard the best flavor. The darker spots mean they’re sweeter, making your ice cream taste richer.
Pro tip: Crush your vanilla wafers right before mixing. This keeps them crunchy. It makes your ice cream smooth and crunchy, a perfect mix.
Creating the Perfect No-Churn Ice Cream Base
Making homemade ice cream is easy without fancy tools. The no-churn method turns simple ingredients into creamy goodness. Your kitchen becomes a place where magic happens with just a few steps.
Learning the no-churn method starts with knowing the key ingredients. Heavy cream and sweetened condensed milk are the foundation for a smooth, rich ice cream base.
Whipping Cream to Perfection
Whipping cream is an art that needs precision. Here’s how to get the best results:
- Use heavy cream with 38% or higher fat content
- Chill your mixing bowl and whisk before starting
- Whip until medium peaks form (approximately 3 minutes)
- Avoid over-beating, which can make the cream grainy
Incorporating Sweetened Condensed Milk
Sweetened condensed milk sweetens and stabilizes your no-churn ice cream. When mixing it with whipped cream, use gentle motions to keep the air in.
Achieving the Right Consistency
The secret to perfect homemade ice cream is balance. Your mix should be:
- Smooth and uniform in texture
- Free of liquid separation
- Light and airy, yet substantial
Pro tip: Freeze your no-churn ice cream for 4-6 hours. This makes it scoopable and creamy. You’ll have a dessert that rivals restaurant quality, all made at home.
Selecting and Preparing Fresh Bananas
Creating the perfect banana pudding ice cream begins with picking the right bananas. The quality of your fruit is crucial. Choose yellow bananas that are ripe for the best taste.
- Bright yellow with minimal brown spots
- Firm but not completely hard
- Free from bruises or soft mushy areas
- Medium-sized (approximately 6 inches long)
The bananas should be sweet but not too sweet. Underripe bananas are best. They add a subtle flavor without making the ice cream too sweet.
How you prepare the bananas is important too. Here are some steps:
- Wash bananas thoroughly
- Peel and slice into small chunks
- Mash bananas gently to create a smooth consistency
- Measure approximately 2 very ripe bananas per batch
Using fresh, high-quality bananas makes a big difference. The banana’s ripeness affects the ice cream’s flavor.
| Banana Ripeness | Flavor Impact | Recommended Use |
|---|---|---|
| Underripe | Mild, less sweet | Ideal for balanced flavor |
| Perfect Yellow | Balanced sweetness | Best for banana pudding ice cream |
| Overripe | Very sweet, intense | Use sparingly or avoid |
By choosing and preparing your bananas carefully, you’ll make a delicious banana pudding ice cream. It will be a true classic.
The Secret to Incorporating Vanilla Wafers
Making banana pudding ice cream is all about texture and flavor. The vanilla wafer crunch is key to making it special.
Adding vanilla wafers to ice cream needs strategy. You want to keep that crunchy texture just right.
Strategic Layering Techniques
Here are some pro tips for adding vanilla wafers:
- Crush wafers into small, varied-sized pieces for interesting texture
- Fold wafers gently into partially frozen ice cream base
- Reserve some whole wafers for topping just before serving
- Freeze wafer pieces briefly before mixing to prevent immediate sogginess
Maintaining the Perfect Crunch
To keep your vanilla wafer crunch perfect, follow these tips:
- Add wafers in the last few minutes of churning
- Use fresh, crisp wafers for maximum crunchiness
- Store ice cream in a shallow container to prevent wafer compression
- Let ice cream soften for 15 minutes before serving to preserve texture
For a special touch, try gluten-free wafers or different cookies. The goal is to balance creamy ice cream with crunchy wafers.
Step-by-Step Banana Pudding Ice Cream Process

Making banana pudding ice cream at home needs focus. It’s a simple process that turns basic ingredients into a tasty dessert.
- Prepare the Base:
- Whip heavy cream until stiff peaks form
- Mix sweetened condensed milk with instant banana pudding mix
- Fold whipped cream gently into the pudding mixture
- Incorporate Bananas and Wafers:
- Slice 2 large bananas into thin pieces
- Crush 1 cup of Nilla wafers
- Layer bananas and wafer crumbs throughout the mixture
- Freezing Process:
- Transfer mixture to a freezer-safe container
- Cover with plastic wrap
- Freeze for minimum 3-4 hours or overnight
Your banana pudding ice cream is almost ready! The secret to a creamy treat is patience. Let it freeze completely before serving.
| Ingredient | Quantity |
|---|---|
| Heavy Cream | 1 ½ cups |
| Condensed Milk | 14 oz |
| Banana Pudding Mix | 1 box (3.4 oz) |
| Bananas | 2 large |
| Nilla Wafers | 1 cup |
Pro Tip: For the smoothest texture, take the ice cream out of the freezer 5-10 minutes before serving. This lets it soften a bit.
Tips for Achieving Creamy Texture
Making the perfect creamy treat needs precision and skill. Your indulgent frozen treat depends on mastering a few key temperature and storage strategies. These ensure a smooth, delightful dessert.
Mastering Temperature Control
Temperature is crucial for keeping your banana pudding ice cream creamy. Here are some important guidelines:
- Freeze ingredients at precisely 0°F (-18°C)
- Blend banana mixture until silky smooth
- Avoid over-churning, which can introduce ice crystals
Strategic Storage Recommendations
Proper storage is key to keeping your creamy treat’s quality. Follow these expert tips to keep the perfect texture:
| Storage Method | Duration | Texture Preservation Tips |
|---|---|---|
| Freezer Storage | Up to 3 months | Use airtight container |
| Thawing Time | 15-20 minutes | Let sit at room temperature |
By following these tips, your indulgent frozen treat will stay creamy from start to finish.
Remember, consistent temperature and proper storage are essential. They keep your homemade banana pudding ice cream luxurious.
Dietary Variations and Substitutions

Making banana pudding ice cream with dietary needs doesn’t mean losing flavor. You can still enjoy your favorite dessert, even with special dietary requirements. It’s all about making a few simple changes to keep the taste just right.
If you’re gluten-free, you can still make this classic ice cream. Just swap out a few ingredients:
- Replace traditional vanilla wafers with gluten-free graham crackers or almond flour cookies
- Use certified gluten-free vanilla extract
- Make sure all ingredients are gluten-free certified
For those who avoid dairy, there are creamy alternatives:
- Substitute heavy cream with coconut cream
- Try almond or oat milk instead of condensed milk
- Choose vegan whipped topping alternatives
| Dietary Restriction | Recommended Substitutions |
|---|---|
| Gluten-Free | Gluten-free wafers, certified GF ingredients |
| Dairy-Free | Coconut cream, plant-based milks, vegan toppings |
| Vegan | Plant-based yogurt, coconut whipped cream |
When making banana pudding ice cream for special diets, choose the best ingredients. Fresh, ripe bananas and quality alternatives will make your homemade ice cream stand out. It’s all about the ingredients.
Pro tip: Always taste and adjust sweetness when substituting ingredients to maintain the signature banana pudding ice cream flavor profile.
Serving Suggestions and Garnishing Ideas
Turn your banana pudding ice cream into a stunning summer dessert. It’s a treat that will wow your guests. You can add many creative touches and toppings.
Your homemade ice cream needs amazing garnishes to boost its taste and look. With a few easy steps, you can make a simple dessert unforgettable.
Irresistible Topping Combinations
Try these tasty toppings to make your banana pudding ice cream even better:
- Crushed Nilla Wafers for extra crunch
- Fresh banana slices drizzled with caramel sauce
- Toasted coconut flakes
- Chopped macadamia nuts
- Chocolate chips
- Whipped cream swirls
Presentation Pro Tips
Make your dessert look great for Instagram with these tips:
- Serve in clear glass parfait dishes to show off layers
- Use vintage mason jars for a rustic look
- Create mini servings in shot glasses
- Garnish with a whole Nilla Wafer standing upright
- Dust with a light sprinkle of cinnamon
Pro tip: Chill your serving dishes before serving. This keeps your treat cold and refreshing.
Troubleshooting Common Issues
Making the perfect no-churn delight can be tricky. Knowing common problems helps you make a great banana pudding ice cream every time.
There are a few main issues you might face. Let’s look at the most common problems and how to fix them:
- Ice Crystal Formation: Stop ice crystals by chilling your mix well before freezing
- Consistency Struggles: Keep the right texture by whipping cream right and mixing well
- Flavor Balance: Get the best taste by measuring bananas and vanilla wafers carefully
Temperature is key when making your no-churn delight. Ice cream makers can cause big ice crystals. Here are some tips:
- Freeze mixing bowls for at least 12 hours before
- Cool the mix to no warmer than 39°F before churning
- Add 1-2 tablespoons of alcohol for a softer texture
Here’s a quick guide to help with common problems:
| Problem | Solution |
|---|---|
| Rock-hard texture | Let ice cream soften 15 minutes before serving |
| Rapid melting | Adjust fat and solid content in recipe |
| Grainy consistency | Ensure proper egg heating to 170°F |
Mastering homemade goodness takes time. Each batch gets you closer to the perfect banana pudding ice cream!
Conclusion
Your banana pudding ice cream journey ends with a delightful twist on an old-fashioned favorite. This southern classic turns a traditional dessert into a creamy, refreshing treat. It captures the essence of summer in every bite. With just a few simple ingredients like ripe bananas, vanilla wafers, and cool whip, you can create a memorable dessert for 6 to 8 people.
The beauty of this recipe lies in its versatility. It’s perfect for those looking for a gluten-free option, a vegetarian-friendly dessert, or just wanting to try new flavors. The mix of rich cream cheese, sweet bananas, and crunchy vanilla wafers creates a texture and flavor that will take you back to childhood memories.
Don’t be intimidated by the process. Making this dessert is easier than you might think. From preparing the no-churn base to layering in those signature vanilla wafers, you’ll find joy in creating a dessert that’s both nostalgic and innovative. Serve it immediately for the best texture, or store it in the freezer for a cool treat that’s ready whenever you are.
Embrace the spirit of southern hospitality by sharing this delightful banana pudding ice cream with friends and family. It’s more than just a dessert – it’s a celebration of tradition, flavor, and the simple pleasures that bring people together.
FAQ
What makes banana pudding ice cream different from regular banana ice cream?
Banana pudding ice cream is special because it combines creamy custard with frozen goodness. It’s not just like regular banana ice cream. This version has vanilla wafer crumbles and a layered texture, just like the classic dessert. It offers a richer and more nostalgic taste.
Can I make this ice cream without an ice cream maker?
Yes, you can! This recipe is easy to make without an ice cream maker. Just whip heavy cream with sweetened condensed milk and mashed bananas. You’ll get a creamy dessert in your freezer. It’s simple and fun for anyone to try.
How do I prevent the vanilla wafers from getting soggy?
To keep the wafers crunchy, add crushed vanilla wafers just before freezing. You can also layer them on top or use them as a garnish. For extra crunch, toast the wafer pieces before adding them to the ice cream.
What type of bananas work best for this recipe?
Use slightly underripe bananas for the best taste and texture. Ripe bananas are too sweet and soft. Underripe bananas are firmer and have a better flavor for the ice cream.
How long can I store homemade banana pudding ice cream?
Homemade banana pudding ice cream can last up to 2 weeks in the freezer. Keep it in an airtight container. Press plastic wrap on the ice cream’s surface before covering it with a lid to avoid ice crystals.
Are there dairy-free alternatives for this recipe?
Yes! For a dairy-free version, use coconut cream instead of heavy cream. Replace sweetened condensed milk with coconut milk. Choose gluten-free and dairy-free vanilla wafers for different diets.
How can I prevent ice crystals from forming in my homemade ice cream?
To avoid ice crystals, make sure your ice cream base is smooth before freezing. Cover it with plastic wrap to keep air out. Store it at a steady freezer temperature. A bit of alcohol, like vodka, can also help because it freezes at a lower temperature.
Can I add other mix-ins to this banana pudding ice cream?
Definitely! You can add mix-ins like chopped nuts, chocolate chips, or a caramel swirl. This lets you customize your dessert and add more flavors.

